AI face swap is everywhere right now because it turns a complicated editing task into a one-click workflow. You upload a source face, choose a target photo or video, and the tool attempts to blend the identity into the scene. When it works, the result looks surprisingly natural.
When it doesn’t, you get the classic “sticker face” look—odd lighting, mismatched skin texture, and blurry edges around the jawline.
AI face swap is an AI-powered editing method that replaces a face in a target photo or video with a face from a source image, while matching pose, lighting, and expression so the result blends naturally.
Table of Contents
What Is an AI Face Swap?
AI face swap is an AI editing method that replaces a face in a target photo or video with a different face from a source image. It aligns facial landmarks, recreates the face region to match pose and lighting, then blends it into the scene.
How AI Face Swap Works
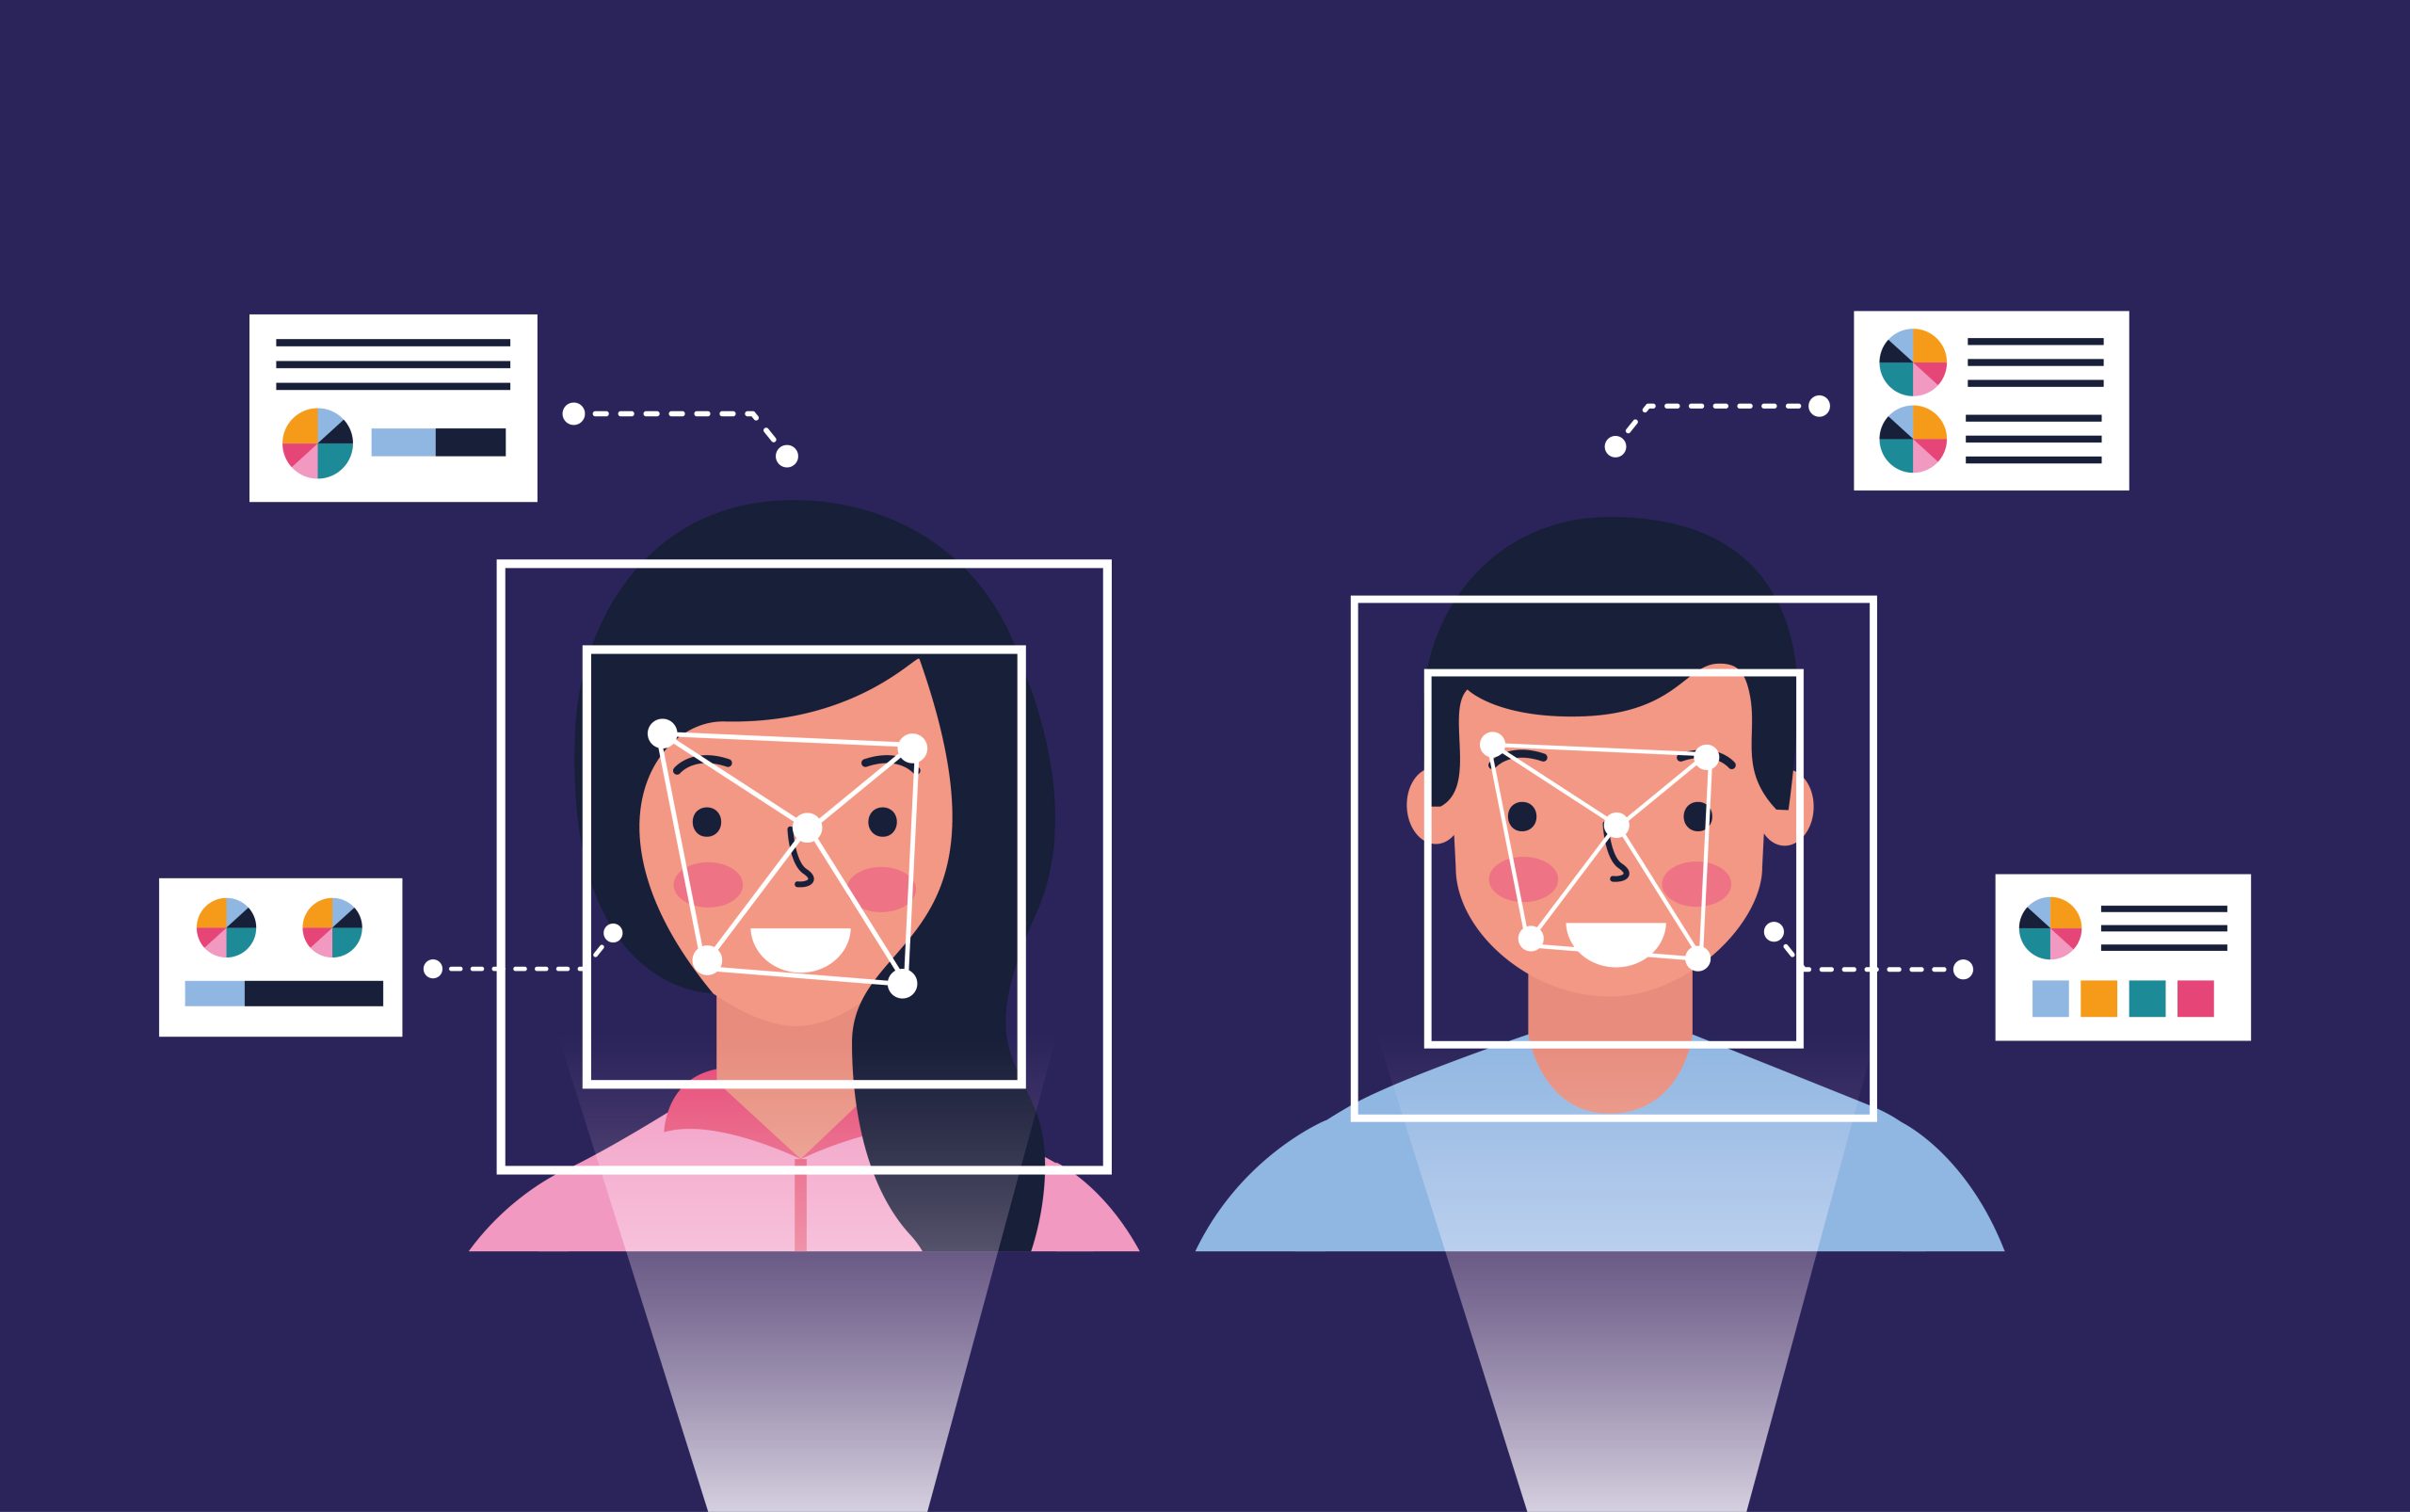
Most systems start by detecting faces and mapping key landmarks like eyes, nose, mouth, and jaw. The model then aligns the source face to the target’s angle and distance so the geometry matches.
Next, the AI generates a face region that preserves the source identity while following the target expression. A blending step merges color, shadows, and texture so the swap doesn’t look pasted on.
Photo vs. Video Face Swap
Photo swaps only need to look correct in a single frame. Video swaps must stay consistent across many frames while lighting, motion, and angles change.
That’s why AI face swap video is harder and more likely to flicker or drift. If the target video is shaky or heavily compressed, the AI has less stable information to track.
What Makes a Face Swap Look Real
Realistic swaps happen when identity, lighting, and texture match the target scene. Most “fake-looking” outputs fail at the edges, especially around the jawline, cheeks, hairline, and mouth.
You get the biggest quality jump by controlling inputs. Clean source photos, a compatible target scene, and careful blending beat any “make it more realistic” slider.
Source Photo Tips
Use a sharp, well-lit source image where the face is clear and not heavily filtered. Avoid extreme angles, heavy makeup filters, and low-resolution selfies with blur.
If your tool supports multiple sources, use 3–6 photos with different expressions and angles. Consistent lighting across those photos usually improves stability.
Target Image and Video Tips
Pick a target where the face is large enough and not hidden by hair, hands, or fast motion blur. Similar lighting direction between source and target makes blending easier.
If your target is dark or compressed, expect artifacts around the mouth and cheeks. Short, stable clips almost always look better than long, chaotic footage.
The Three Biggest Quality Levers
First, resolution matters more than most people admit. If you can run the swap at higher resolution and then downscale slightly, you’ll often keep detail while hiding seams.
Second, lighting and color matching decide whether your brain believes it. If the target is warm indoor light and your source is cool daylight, your swap will fight an uphill battle.
Third, edge control is everything. You want soft, natural transitions at the jawline and hairline, not a hard cut that screams “overlay.”
Common Problems and Fixes
If the face looks like a sticker, your blending is too harsh or your lighting mismatch is too strong. Use a target with similar lighting or reduce contrast differences before swapping.
If skin looks plastic, you’re over-smoothing. Lower denoise or beauty settings and reintroduce texture so it matches the target’s grain.
If the mouth looks weird in video, the target clip is probably compressed or blurry during speech. Use higher-quality footage, shorter segments, and avoid fast head turns.
If the identity keeps changing, tracking is unstable. Choose a target with fewer cuts, less shake, and a face that stays visible.
AI Face Swap Video Basics
Video swapping works best when the face is consistently visible and the camera movement is calm. Clips with heavy motion blur and aggressive compression are the fastest way to get flicker.
Start with a short clip, check stability, then scale up. You’ll save time by testing first instead of rendering long videos blindly.
Best Practices for Responsible Use
Only use photos and videos you own or have permission to use. Don’t swap someone else into content that could embarrass, harass, mislead, or impersonate.
Avoid anything that looks like a real endorsement, a real statement, or a real identity claim. If you publish results, label them clearly as edited content.
Is AI Face Swap Legal and Safe?
Laws vary by country, and platform rules often change. You lower your risk by using consent, avoiding impersonation, and not presenting edits as real.
Privacy matters too, especially if you’re running a website tool. Keep uploads secure, limit retention time, and automatically delete files.
| Type | Best for | Main challenge |
|---|---|---|
| Photo face swap | Profile pictures, memes, single scenes | Hard edges and mismatched lighting |
| AI face swap video | Short clips with stable lighting | Flicker, drift, and mouth artifacts |
| Hybrid workflow | Creators who want believable results | Extra steps for refinement |
AI face swap looks best when you control the source photo, the target scene, and the blend. If you want a shortcut to the best results, read the next guide on the best AI face swap tools and pick the right option for your use case.

Andrej Fedek is the creator and the one-person owner of two blogs: InterCool Studio and CareersMomentum. As an experienced marketer, he is driven by turning leads into customers with White Hat SEO techniques. Besides being a boss, he is a real team player with a great sense of equality.